This is the first Micromine tutorial in this blog. I would like to share my experience when using various GIS and Database software. I am a GIS and Database specialist. I have been in the Exploration industry for more than 20 years. Micromine is a well-known Mining and Exploration Geology software. It handles the complex geological modelling, mining design as well as resource estimation. It’s a pretty expensive software that only company can afford it.
Micromine project contains all the files, layouts, and plot files. Usually, we should have different Micromine projects if we have multiple projects or location. It is super easy to create a new project in Micromine.
Steps to Create a New Project in Micromine
Open Micromine and then go to File | Project | New

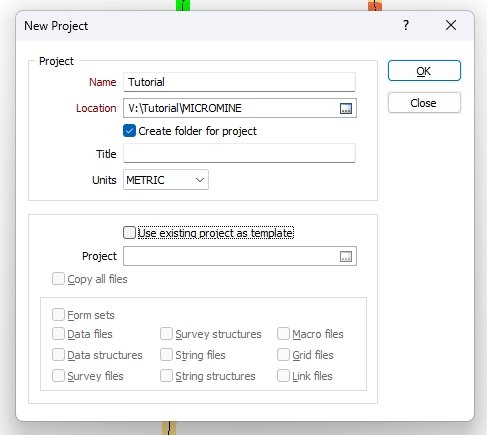
In the New Project Window, give the new project a name and then specify the location. Check Create folder for project if you want to create a sub folder. It is also important to select the Units. In this example, we use METRIC for the Units.
If we want to use the existing Micromine project as a template, we may enable the option Use existing project as template.

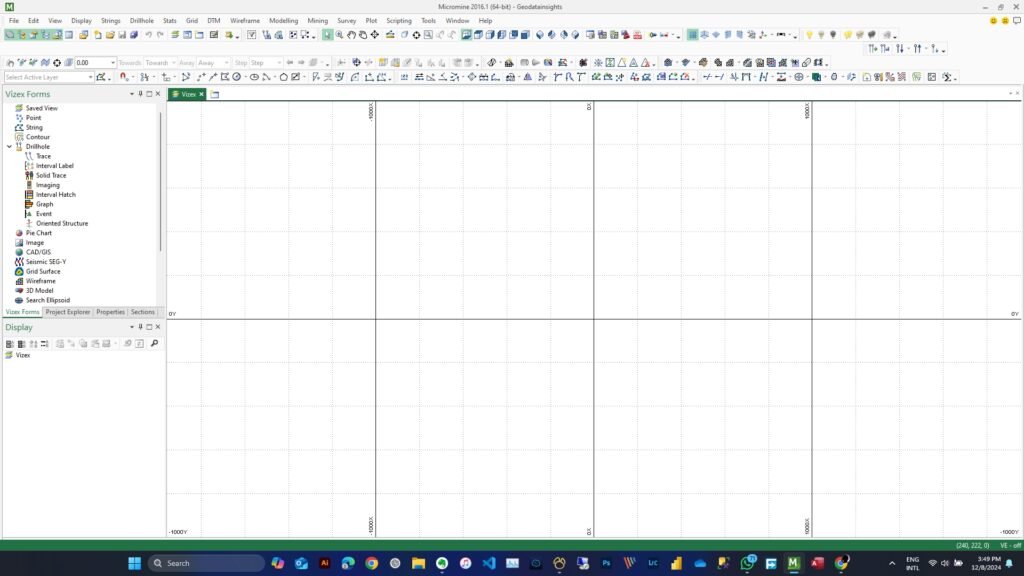
In a moment, the new project should be ready and we can start using it.
Thanks for reading this short tutorial how to create a new project in Micromine. Stay tuned for more tutorials. Until next time.

