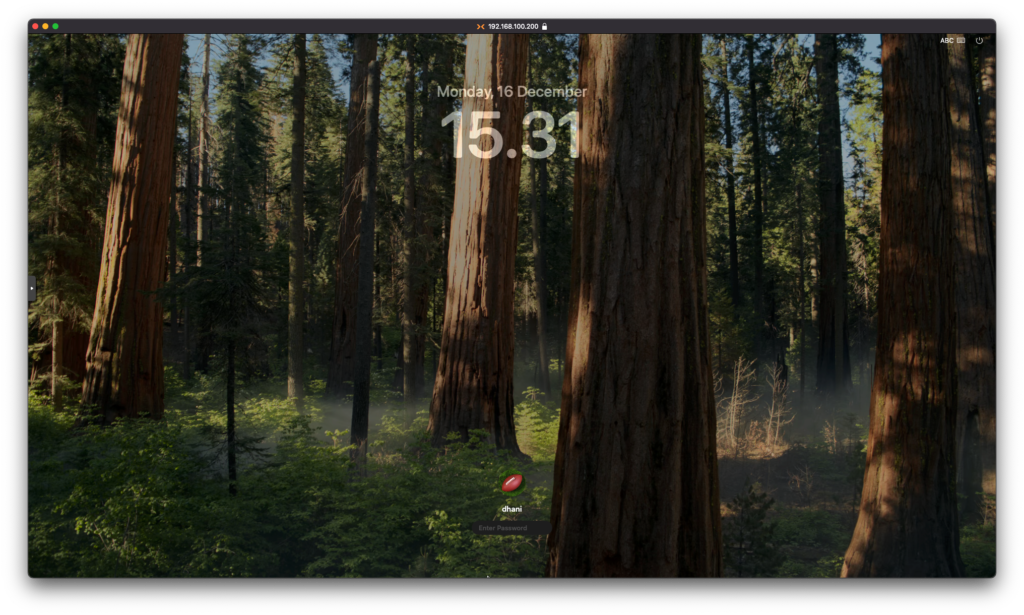
In this article, we will guide you through the process of installing macOS Sequoia on a Proxmox virtualization environment. Proxmox is a powerful open-source platform that allows us to power up multiple VMs in a single host. In this tutorial, you will learn how to install and run macOS as a guest operating system on your Proxmox.
Since macOS will run on Proxmox as a guest machine, you may initially notice the poor graphical performance. However, this limitation can be addressed by configuring GPU passthrough, which allows the virtual machine to leverage the full power of a dedicated GPU. We’ll cover the steps to optimize performance using GPU passthrough later. Stay tuned on this blog.
Steps to Install macOS Sequoia on Proxmox
There is someone who shares the easiest way to install macOS Sequoia on Proxmox. With few simple command, the script will do the automatic installation. Thanks to Luchina-Gabriel. Check their page at Github.
Step 1. Update Proxmox
Connect to your Proxmox via Terminal or use the web dashboard.
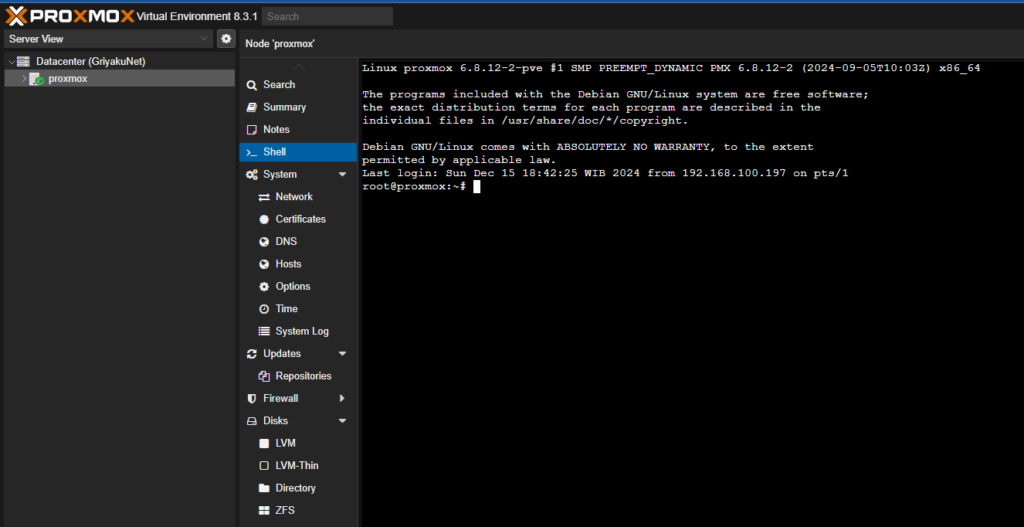
Type the following command to update Proxmox
apt update && apt upgradeStep 2. Create New VM
Now execute this command to download the script
/bin/bash -c "$(curl -fsSL https://install.osx-proxmox.com)"In a few moment, you will see the following
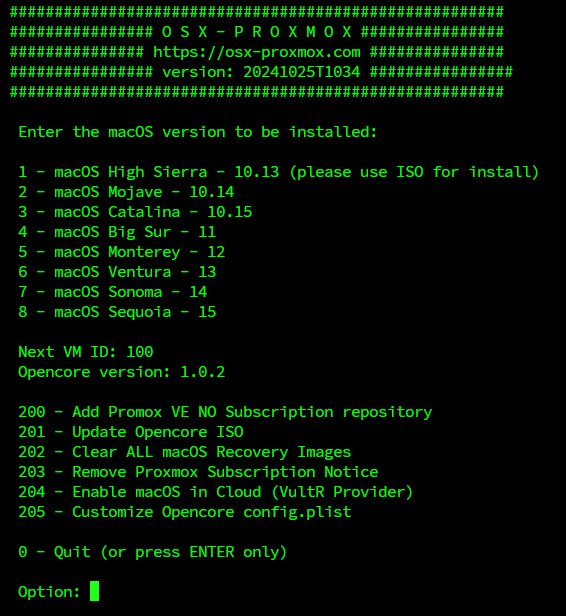
We can choose the macOS version from High Sierra to the latest Sequoia. For now, we will choose macOS Sequoia. Type 8 and then press Enter to continue. The installation wizard will start. We need to answer some questions during the process.
First, we need to enter the VMID. We can skip it and the script will assign automatic VMID to Proxmox.
Enter the VM ID [or ENTER to automatically generate (100)]:Next enter the name for the new VM. If you skip it, the script will use the HACK-SEQUOIA as the VM name.
Enter VM Name [or ENTER for Default: HACK-SEQUOIA]Now we need to enter the disk size. Minimum 64 GB disk size is needed. In this example, I use 100 GB
Enter a disk size [INTEGER] [or ENTER for Default: 64 Gb]:100Choose the storage available in your Proxmox system
Storages available:
 - NVME
 - Storage2
 - TrueNAS_Backup
 - TrueNAS_Proxmox
 - iso_on_truenas
 - local
 - local-lvm

Enter which storage to create the VM [or ENTER for Default: local-lvm]: Storage2
Allocate CPU core. Default is 4.
Allocate CPU cores [Need Power of 2] [or ENTER for Default: 4]:Allocate RAM. In this example, we use 8192 MB of RAM
Allocate RAM [MiB] [or ENTER for Default: 4096]: 8192Download and create the recovery image.
Do you want to download and create the recovery image? [Y/N] [or ENTER for Default: Y]:After this, the script will download and create the installation image for us. Wait until it completes. It will take a while depend on your internet speed.
Downloading and creating the recovery image for installation ...
rmdir: failed to remove '/mnt/APPLE': Device or resource busy
Download and recovery created successfully.

Creating virtual machine with macOS - Sequoia ...
Virtual machine (macOSequoia) created successfully.

Access the Proxmox Web Panel to continue with the installation ...
https://192.168.100.200:8006
When the download completed, we can see the new VM is visible in the Proxmox dashboard.
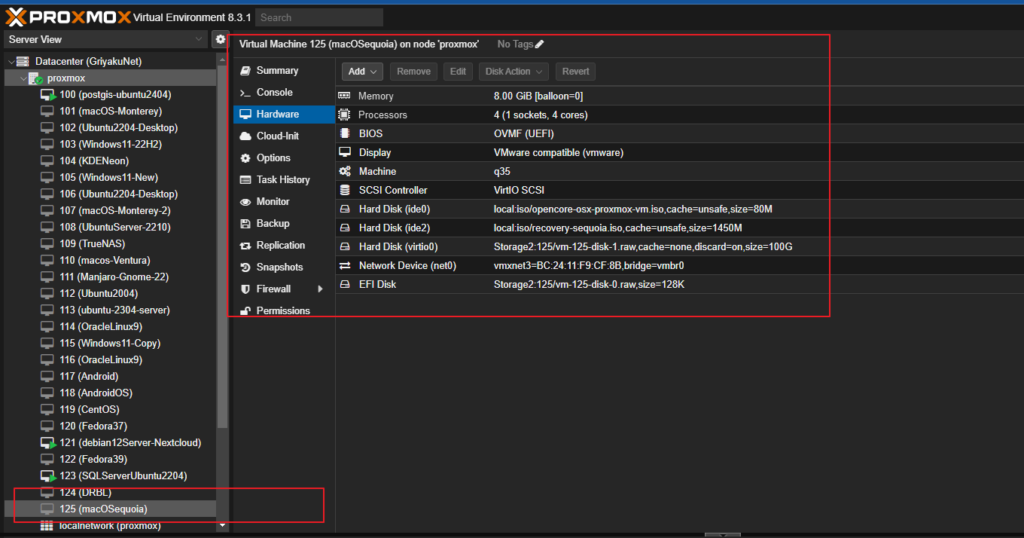
Step 3. Install macOS Sequoia
Now start the VM and then click Console to see the installation wizard.
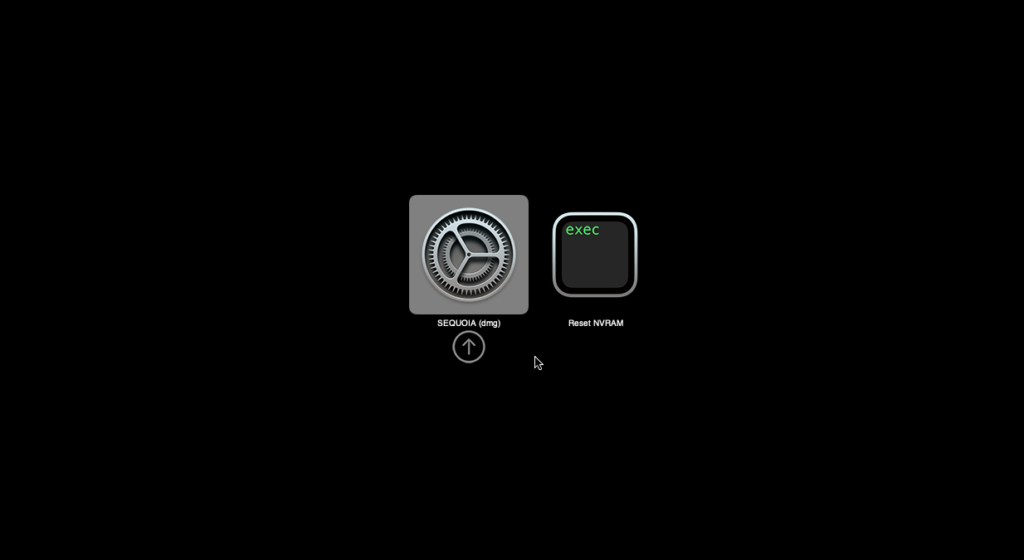
Choose Sequoia(dmg) and press Enter to start the installer

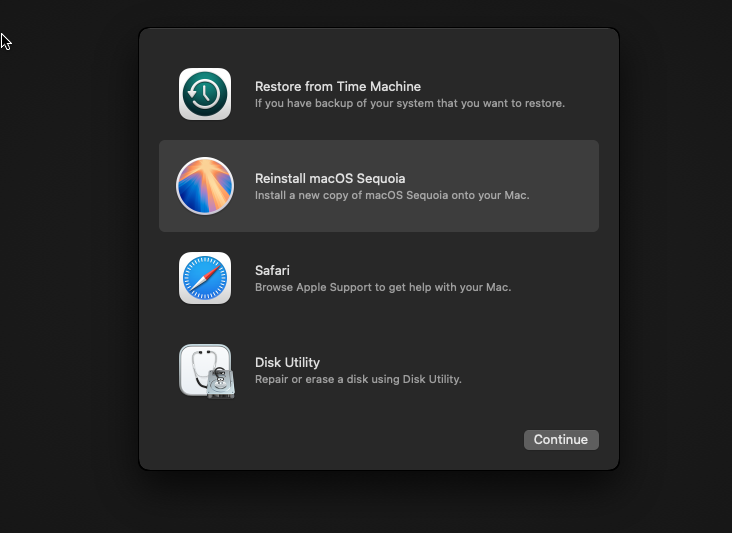
The macOS installing is loading. It took a while to complete. Next, choose Disk Utility and click Continue.
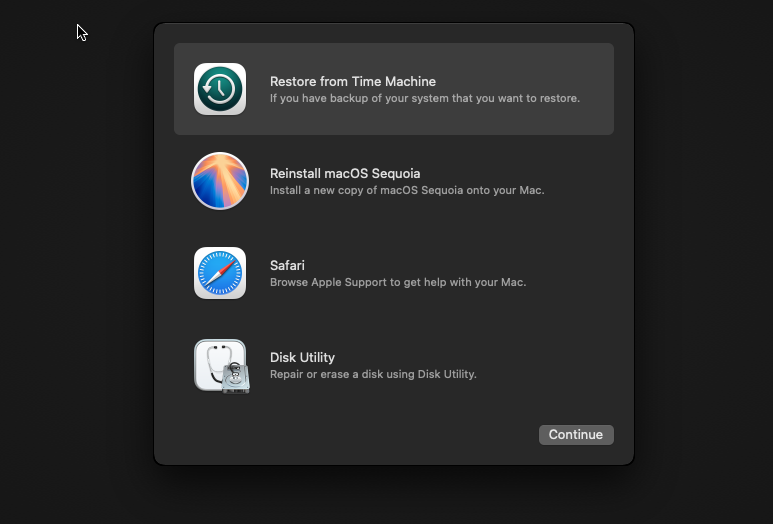
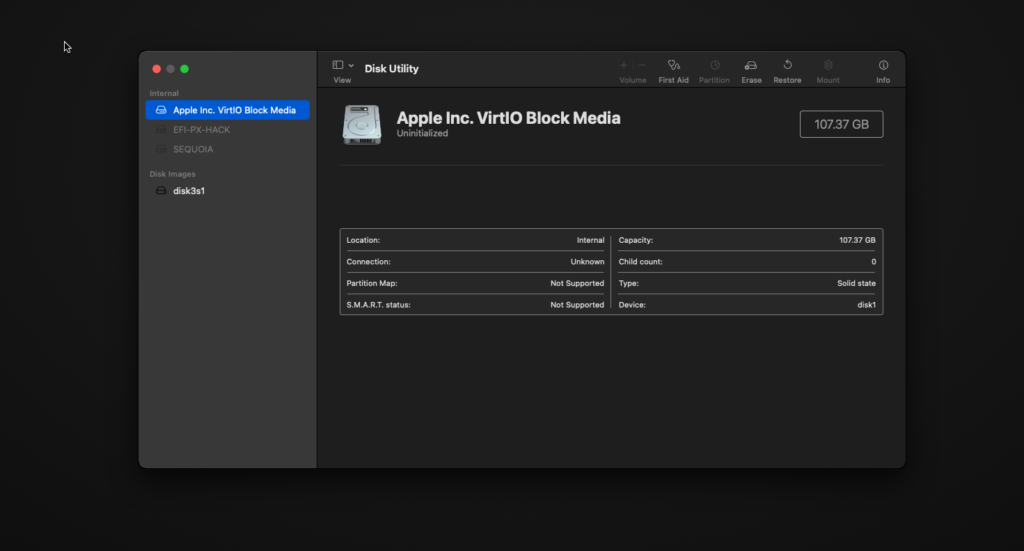
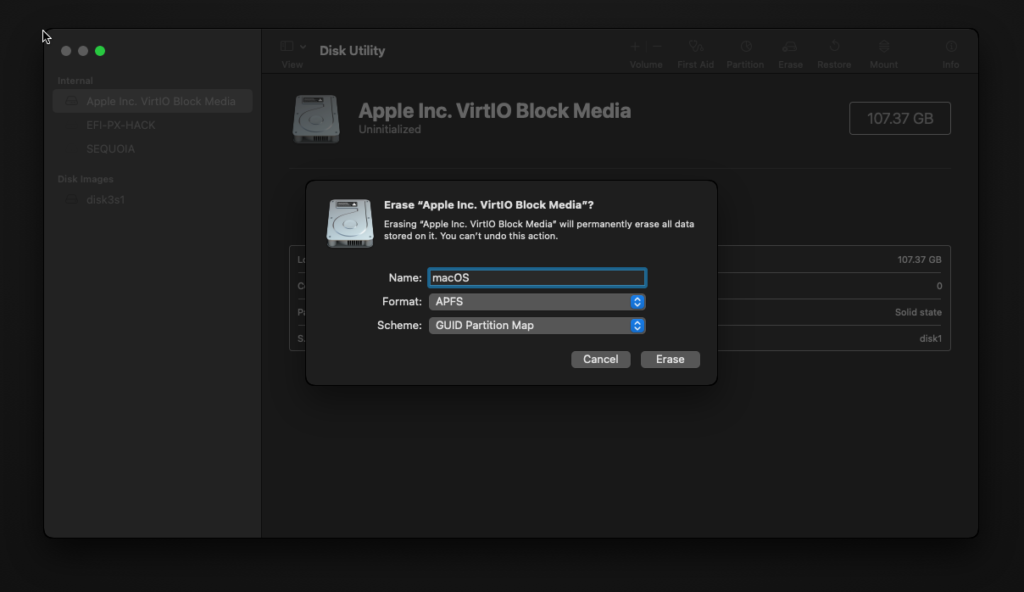
On the Disk Utility window, click Apple Inc. VirtIO Block Media and then click Erase
Give it a new name and make sure to choose APFS format and GUID Partition Map. Click Erase. Next, close the Disk Utility and it will switch back to the first screen. Here, we choose Reinstall macOS Sequoia
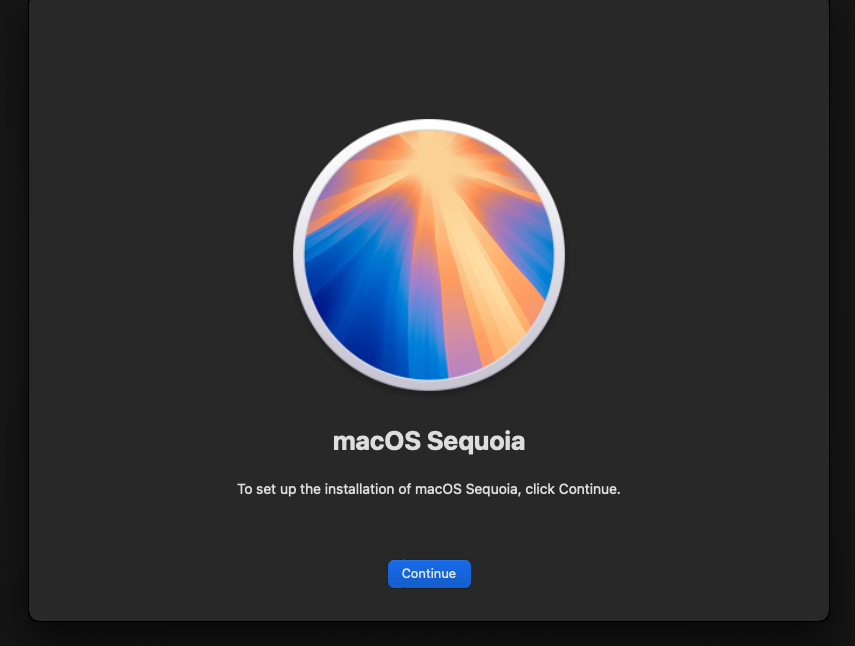
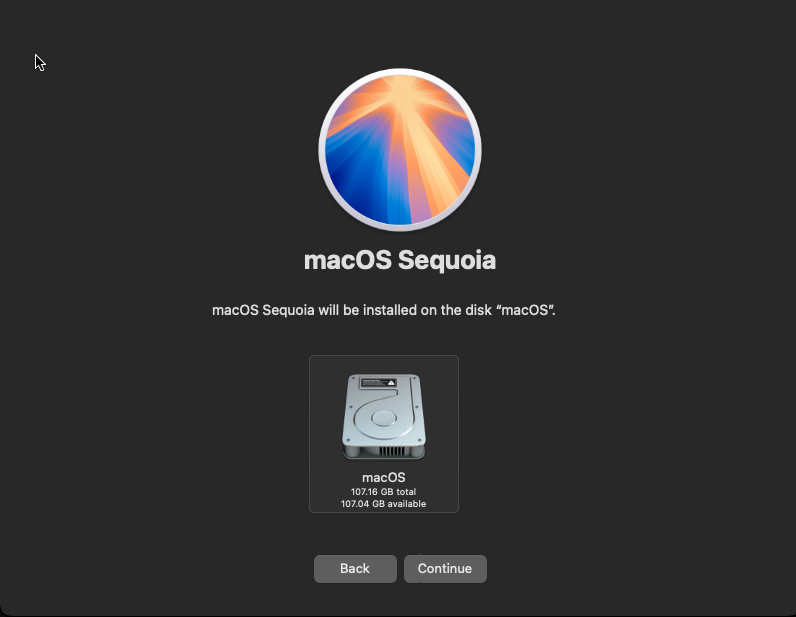
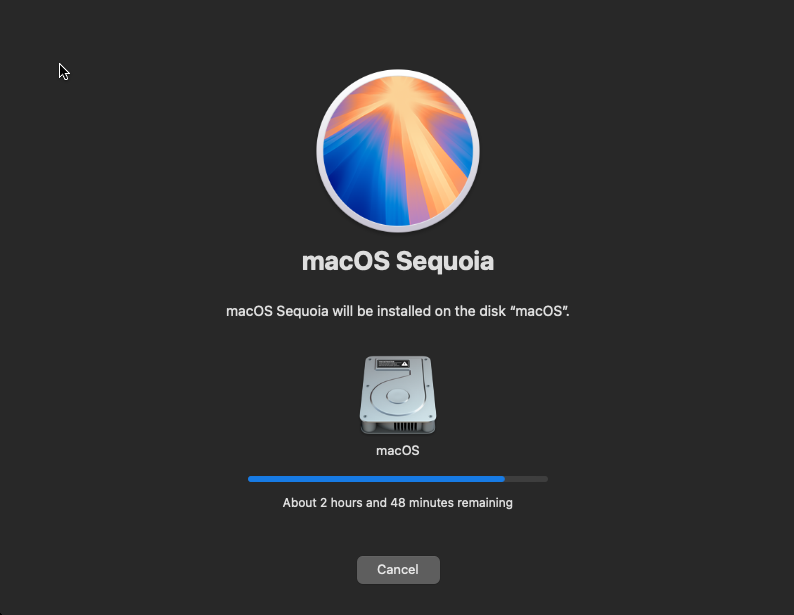
The installer will continue copying files. This will take a while, so be patient. It will also reboot several times. Upon reboot, choose macOS installer, not SEQUOIA (dmg)
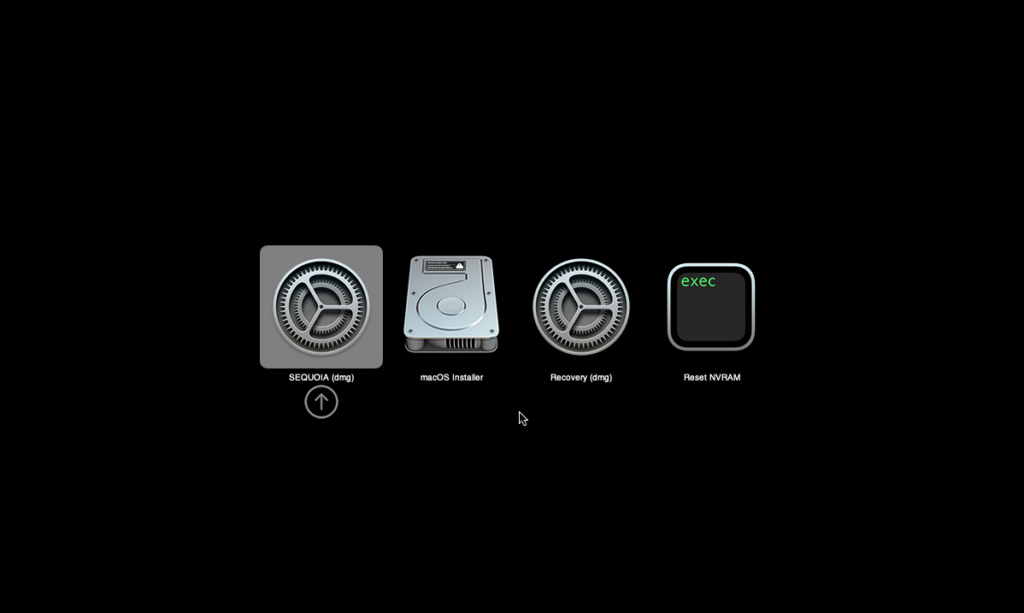
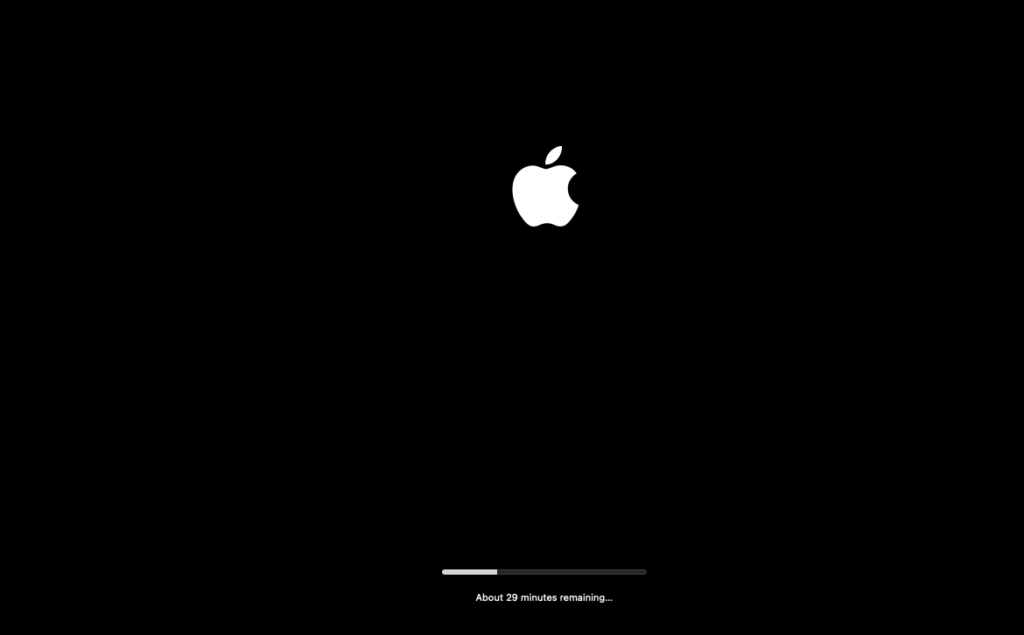
And lastly, you will see the following screen during the last reboot
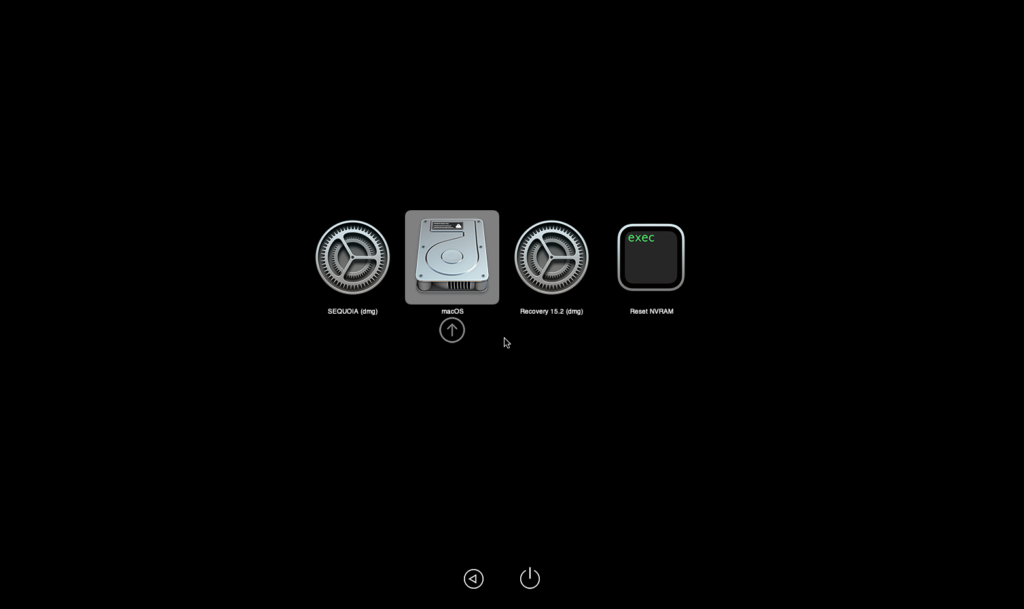
Choose macOS and press Enter. In a few moments, the macOS screen will show up. We still need to configure few things. The following video shows you how to setup the macOS for the first time.
That’s it. Next we will configure the macOS on Proxmox to have a GPU passthrough
