
Looking to set up a powerful, free, and open-source database on your Debian server? PostgreSQL (often just called “Postgres”) is a fantastic choice, known for its reliability, robust features, and strong performance. In this tutorial, we will guide you how to install PostgreSQL on Debian 13. Don’t worry, if you are using previous Debian versions, this tutorial will still valid.
This guide will walk you through the simplest way to install and configure PostgreSQL on Debian. We’ll go from a fresh server to a fully functional database, ready for your application.
Step 1: Update Your System and Install PostgreSQL
First, it’s always a good idea to refresh your system’s package lists to ensure you get the latest software versions.
Update the package lists (run these commands as root)
apt updateOptional, but recommended: upgrade existing packages
apt upgrade -yNow, we can install PostgreSQL. The default Debian repositories include a postgresql package, which provides the server, and postgresql-contrib, which includes extra utilities. We’ll install both.
apt install postgresql postgresql-contrib -yThis single command downloads and installs everything you need to run the database. Wait until the install process completed.

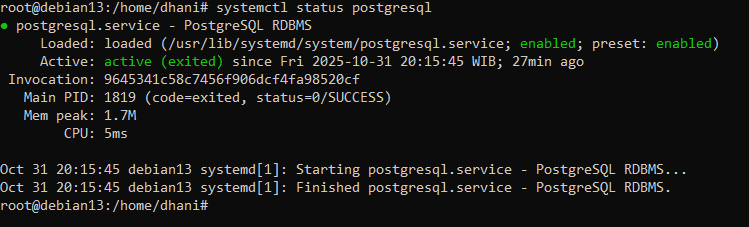
Now let’s check the service status
systemctl status postgresqlMake sure it is active
At this point, we have successfully installed PostgreSQL on Debian 13. Next, we will configure the remote connection to PostgreSQL.
Access the psql tool
PostgreSQL setup includes a default super-user named postgres. It’s set up to use ident authentication, which means it allows the Linux user postgres (also created during installation) to log in without a password. To access the PostgreSQL command-line shell (psql), you need to first switch to the postgres Linux user:
su - postgres
postgres@debian13:~$ psql

psql (17.6 (Debian 17.6-0+deb13u1))
Type "help" for help.

postgres=#
To exit psql, simply type \q and press Enter.
Step 2. Secure the postgres User
The postgres user is the database super-admin. It’s a good security practice to give it a strong password, even if you don’t plan to use it for your applications. While inside the psql shell (from Step 2), run the following command:
postgres=# ALTER USER postgres PASSWORD 'YourPassword.2025';Step 3. Allow Remote Connection
By default, PostgreSQL only allows connections from the server it’s running on (localhost). If your application is on a different server, you’ll need to enable remote connections. This is a two-part process: first, tell PostgreSQL to “listen” for connections from the network, and second, tell it which users are allowed to connect from where.
Edit the postgresql.conf
Use this command to edit the file postgresql.conf
nano /etc/postgresql/17/main/postgresql.confFind the following line in the file
#listen_addresses = 'localhost' Change it to
listen_addresses = '*' Close and save the file using CTRL + X
Edit pg_hba.conf file
nano /etc/postgresql/17/main/pg_hba.confAdd this line to the bottom of the file
host all all 0.0.0.0 /0 md5Close and save the file and then restart the postgresql service
systemctl restart postgresqlStep 4. Set Up Firewall to Allow port 5432
In case your firewall is active, you need to allow port 5432 through the firewall. To do this simply execute this command
/usr/sbin/ufw allow 5432/tcpAt this point, we have successfully installed PostgreSQL on Debian 13 and allow remote connection from the network.
Stay tuned on this blog for more tutorial like this. Cheers.


Pingback: How to Install PostGIS on Debian 13 - geodatainsights.com