In this article, we will learn how to create points from CSV file in QGIS. QGIS is a powerful GIS software that can do many things. We will try to provide a complete tutorial for QGIS. CSV is a popular file format that commonly used to store data. Most GIS software such as QGIS, ArcGIS Pro can read this file format.
What is CSV File?
A CSV (Comma-Separated Values) file is a plain text file that stores data in a tabular format, where each row represents a record, and each column is separated by a comma. It is commonly used for importing and exporting data between different software applications, such as spreadsheets, databases, and data analysis tools. CSV files are simple, lightweight, and widely supported, making them ideal for sharing structured data.
How to Open CSV File in QGIS
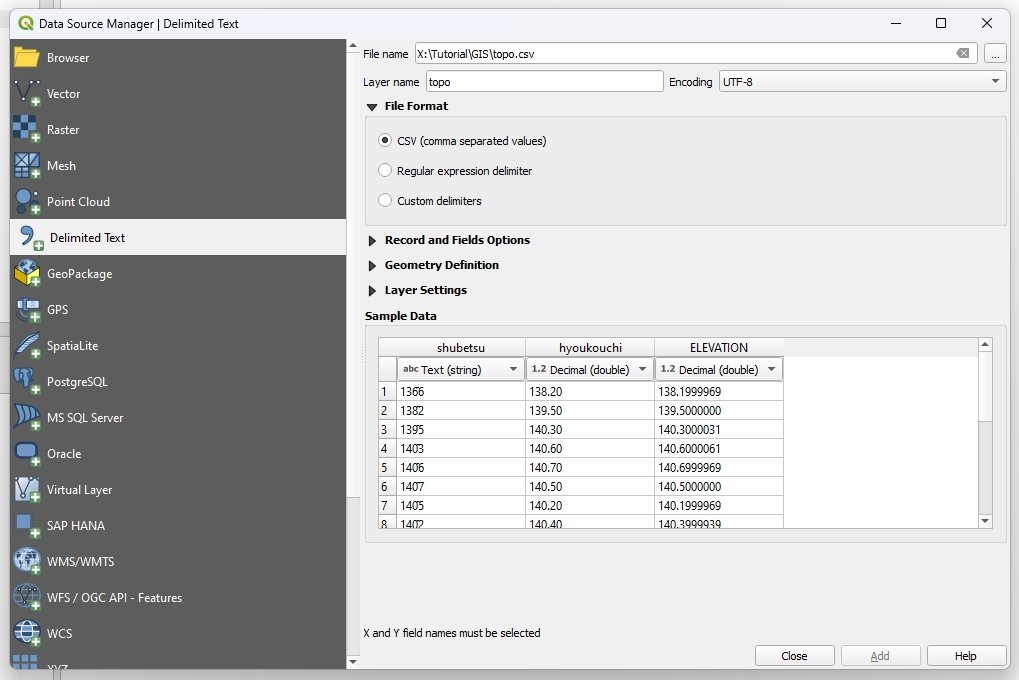
Opening CSV file in QGIS is very easy. We can simply drag and drop the csv file from the QGIS browser panel. Or, we can also go to Layer | Add Layer | Add delimited text layer.
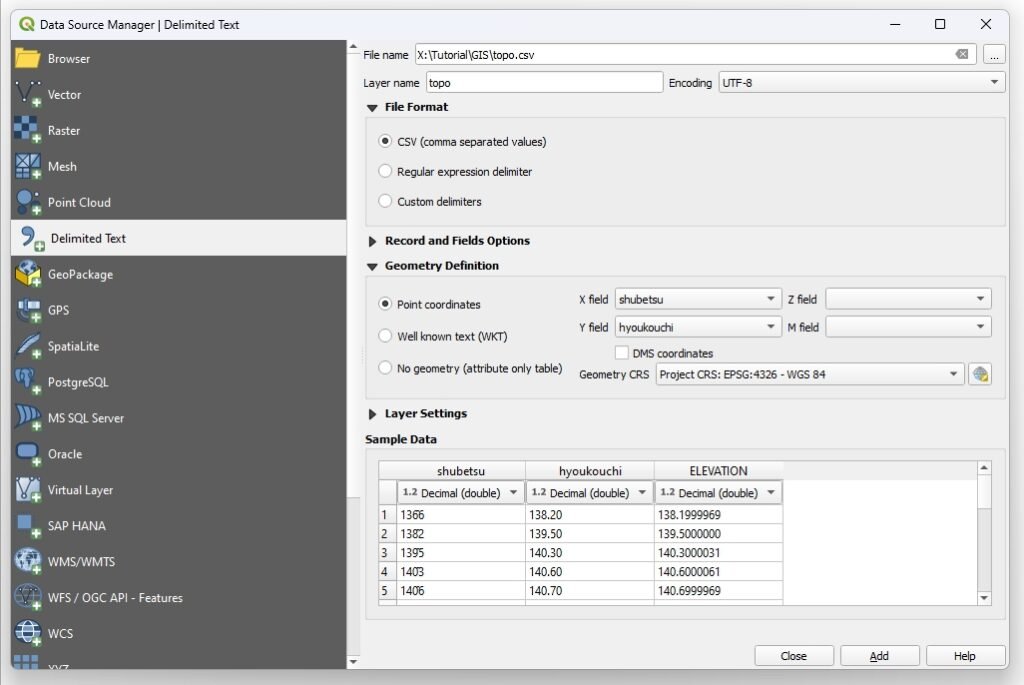
By default, QGIS will display the CSV file content such as the column names, and preview of the content. Go to Geometry Definition and specify the X, Y and Z.
Make sure you map the correct X and Y fields. Click Add button to complete this process
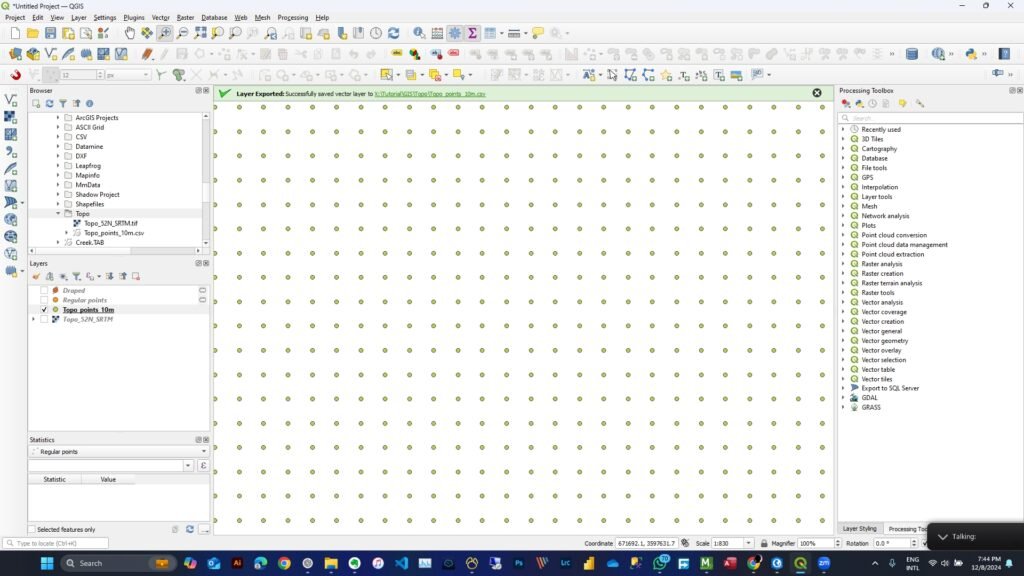
Now the points should be visible. That’s how we create points from CSV in QGIS. Thanks for reading and see you next time.


